When reading a crochet pattern, you may see instructions to ‘block’ your work. Or maybe you’ve seen videos online of crochet projects before and after ‘blocking’ and see a huge difference in the project!
Some people chose to never block their work, and think it doesn’t have much of an impact on the final project. I think it heavily depends on what you are making and personal preference.

What is blocking, and why is it important in crochet?
Blocking is the process of shaping crochet pieces to achieve a desired shape or size, usually through spritzing water, steaming, and/or using pins/pegs. The exact method will differ depending on the yarn material used, but blocking will always produce an evenly shaped and more professional-looking piece.
Benefits to blocking your crochet projects:
- Evens out your tension, creating a more uniform piece
- Shapes your project in a specific way
- This is especially good for making things square – granny squares, tapestries, etc.
- Stretches your project to the right size
- Also removes wrinkles
- Loosens the stitches
- This is great for garments and will let them drape over your body in a better way
Materials Needed
Most of these can be found at a crafting store, or you can find them easily online!
- Blocking Boards: typically these are interlocking foam mats with a grid, or alternatively there are wooden boards with a grid of peg-holes that come with a set of pegs.
- T-pins: If you are using a foam blocking board, you will need T-pins to shape your work by pinning it to the board. Otherwise a wooden board will require pegs.
- Spray Bottle: If you are blocking cotton or wool yarn, you will need to pin the project and then spray it with water to block it.
- Steamer: If you are blocking acrylic yarn, you will need to pin the project and then use a handheld steamer or the steam setting on an iron to block it.
Blocking Example
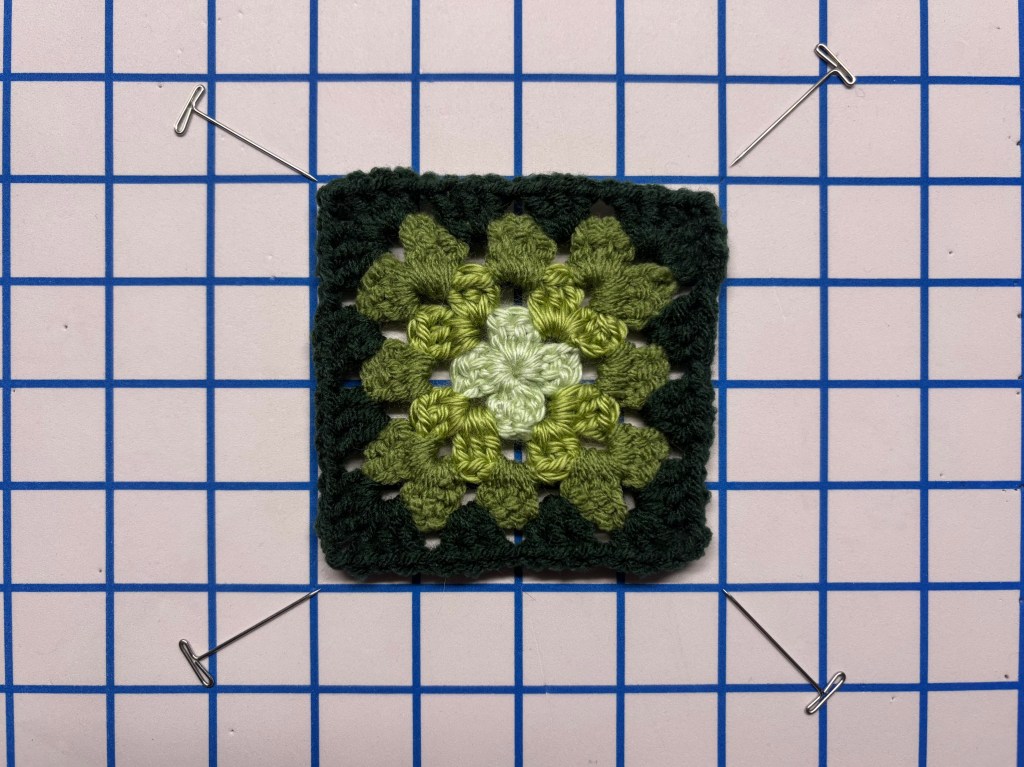
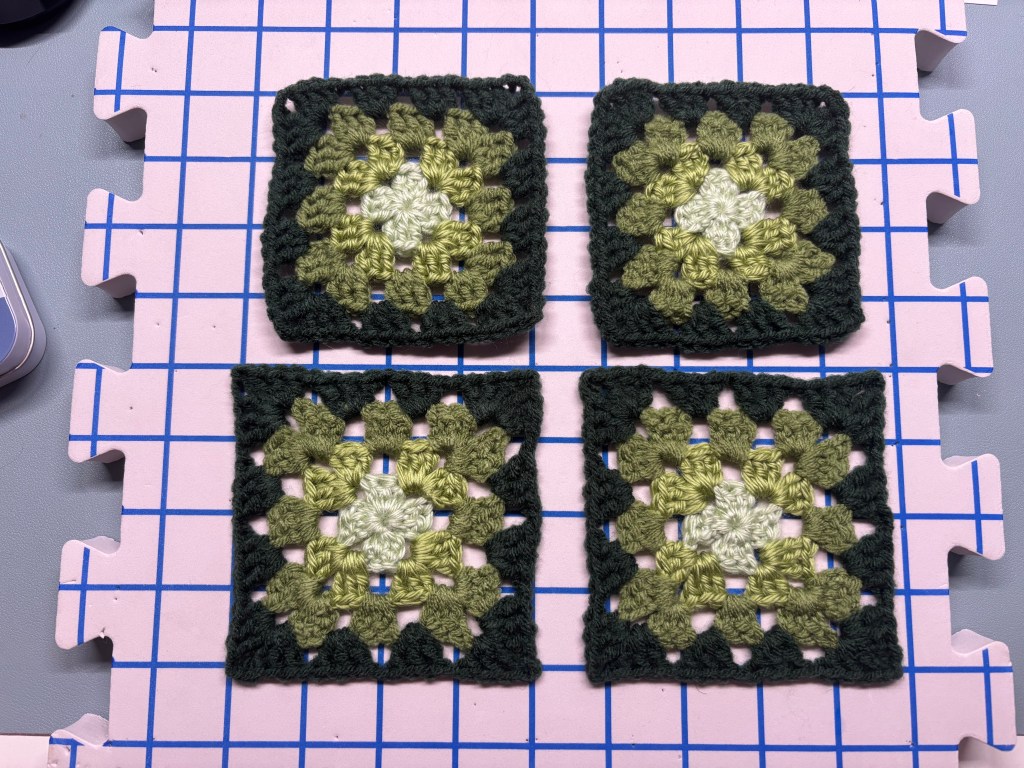
Here I have crocheted some granny squares with acrylic yarn. They look relatively square already, but I want them to be more evenly shaped and since my tension was tight they aren’t quite 4×4 inches long.

Here I am taking my foam blocking board and pinning each corner to the board . On this board each square is 1×1 inch, making it easy to measure how large you’d like your work to stretch to. Since I want my squares to be 4×4, I will pin them on the grid 4 squares long and wide.

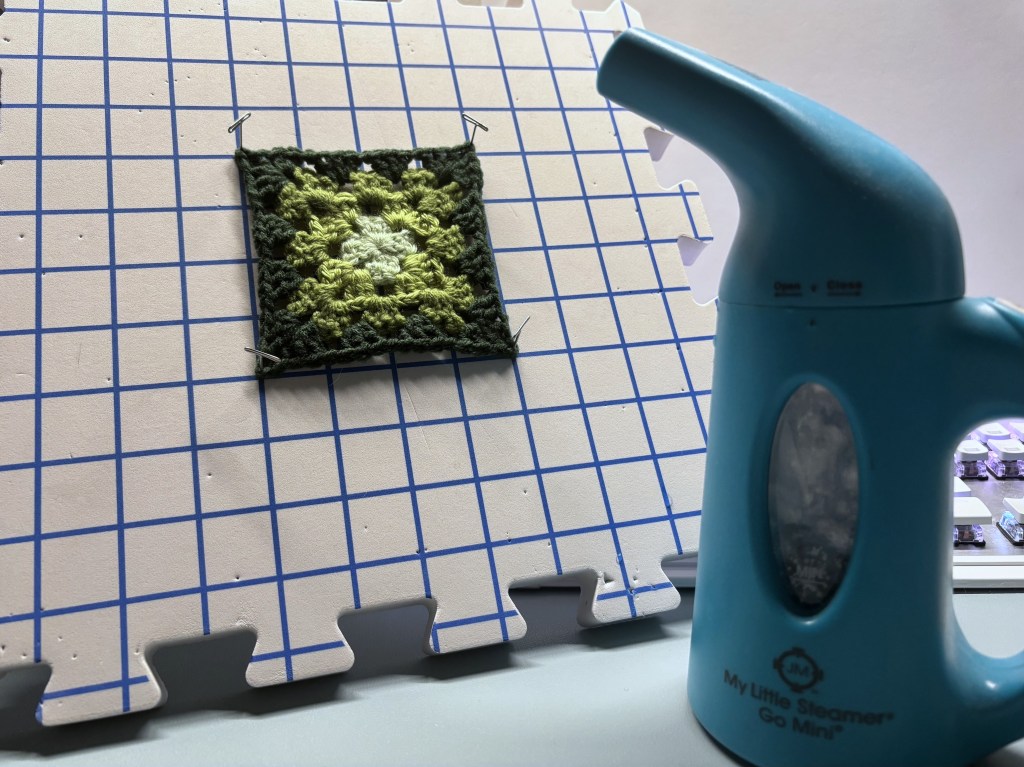
Now, since the yarn I used is acrylic, I am going to use my handheld steamer to block the granny squares. Using steam on acrylic essentially ‘melts’ the yarn with indirect heat and relaxes the fibers. If you are using cotton or wool, spray the square liberally with water here instead of using steam.
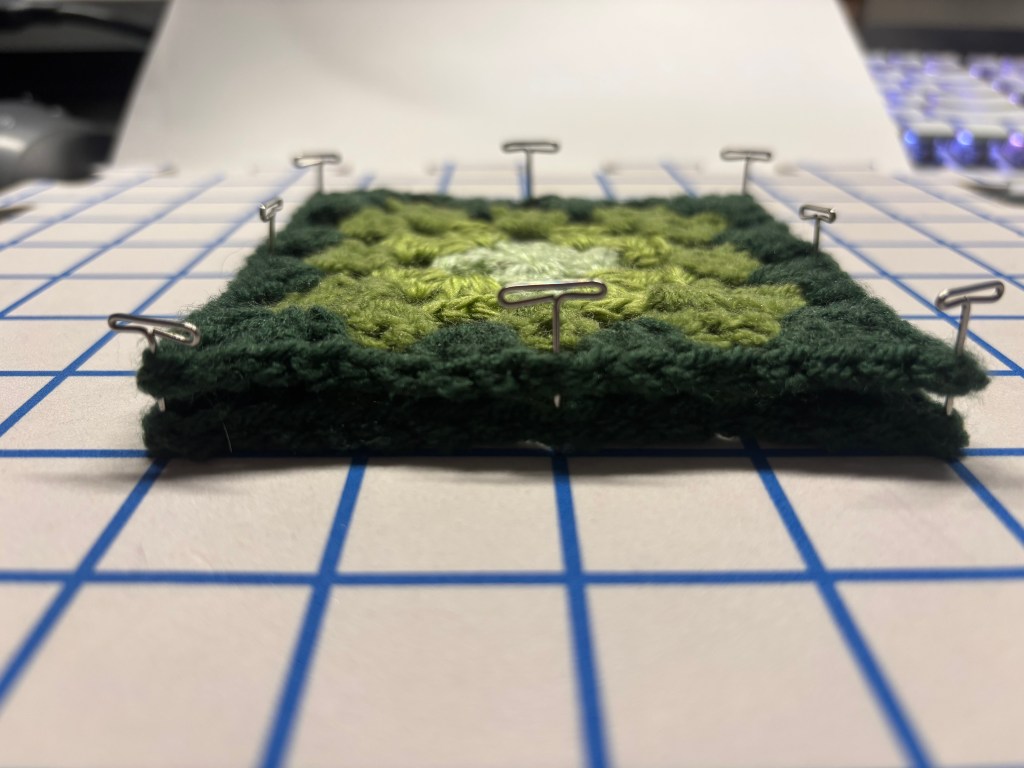
Afterwards, I added 4 more pins on each side to shape it better. There aren’t really any rules when it comes to how many pins you should use. Also, depending on how tall your pins are, you can stack another square on top and steam that one too!

Once the squares have cooled and dried down, you can take them off the pins. See how much of a difference it made in the shape and size compared to the non-blocked ones?
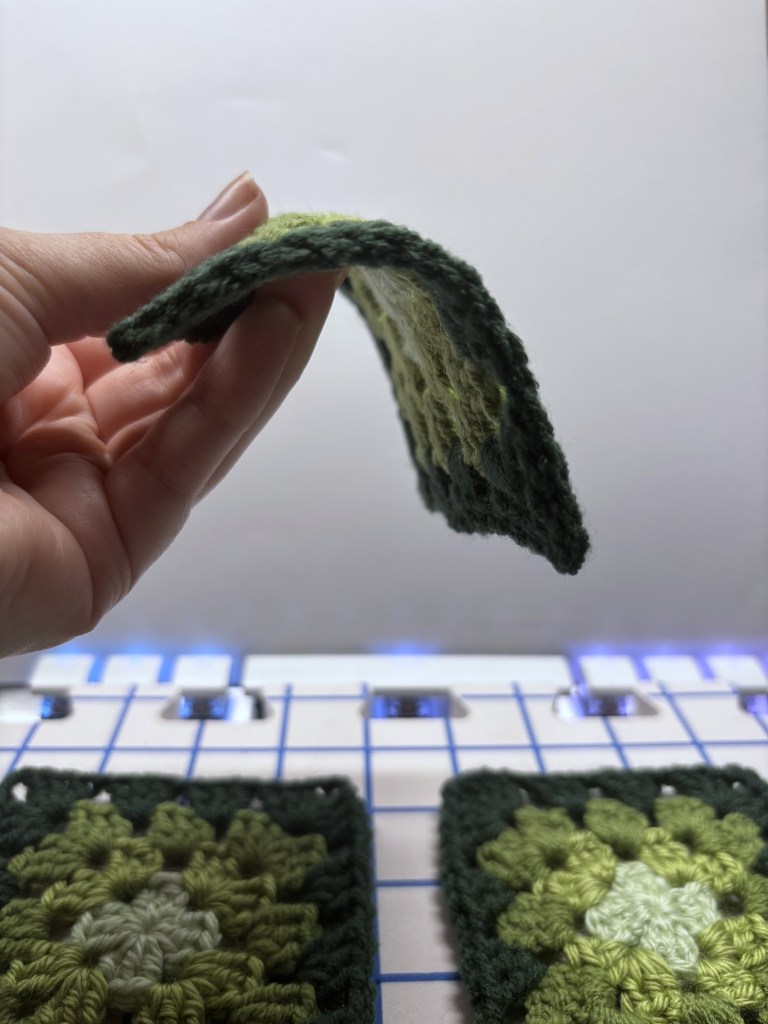
The drape of the squares has also changed drastically. The left is before blocking, the right is after.

There could be scenarios where you’d want to keep your crochet project stiff – maybe a basket or organizer; something that needs to keep its structure. In these cases, I wouldn’t recommend blocking. But for clothes and blankets, blocking will dramatically loosen the fibers and result in a more relaxed and casual look!
What do you think of blocking crochet projects? Do you always block your work, or do you skip it altogether? Let me know in the comments (。•̀ᴗ-)✧

Leave a comment