The magic circle (or magic ring) is the other most common method to begin a crochet project next to the slip knot, and is often used when creating granny squares, plushies, or anything needing a circle shape.
Here is an easy way to make a magic circle with step-by-step instructions:
(you may notice it’s very similar to the slip knot!)

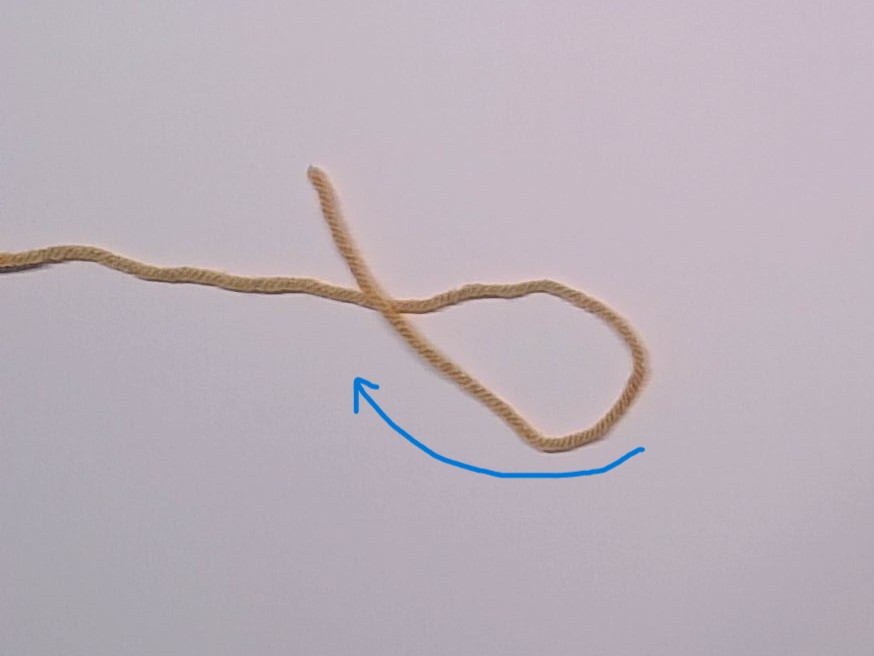
| 1. Lay the yarn flat with the tail end to the right and the working yarn off to the left | 2. Pick up the yarn tail and move it up and to the left and on top of the working yarn |
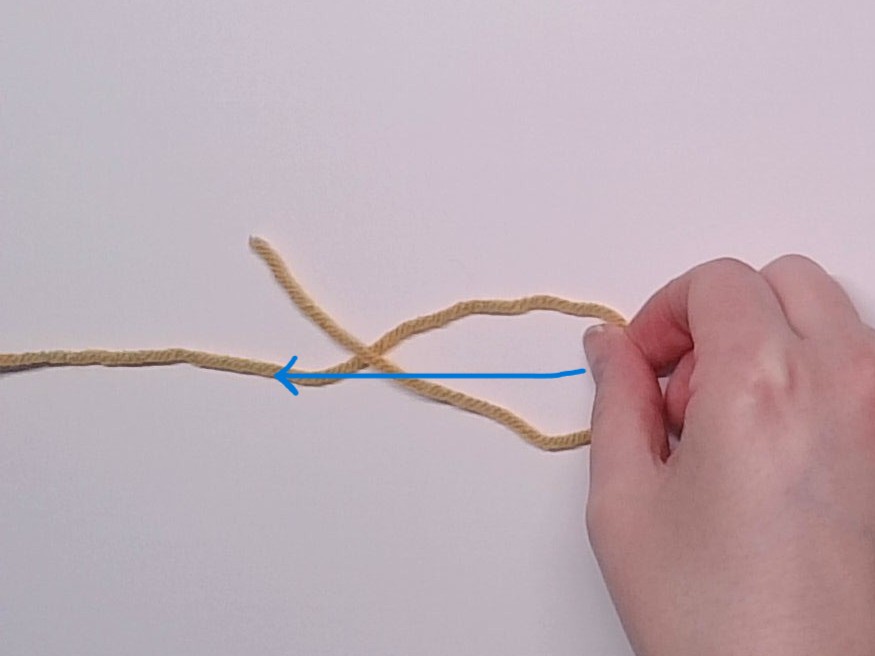

| 3. Grab the loop on the right and fold it over to the left on top of the working yarn and tail | 4. You should now have this shape with the working yarn running through the center |
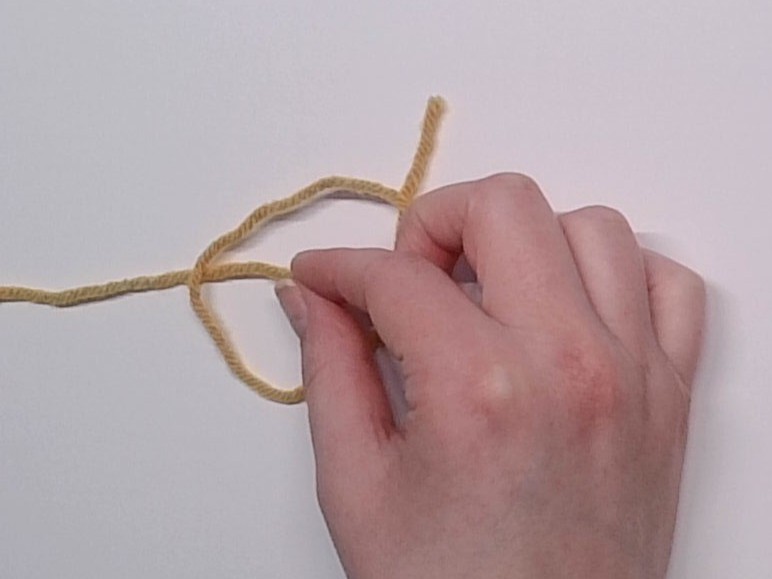
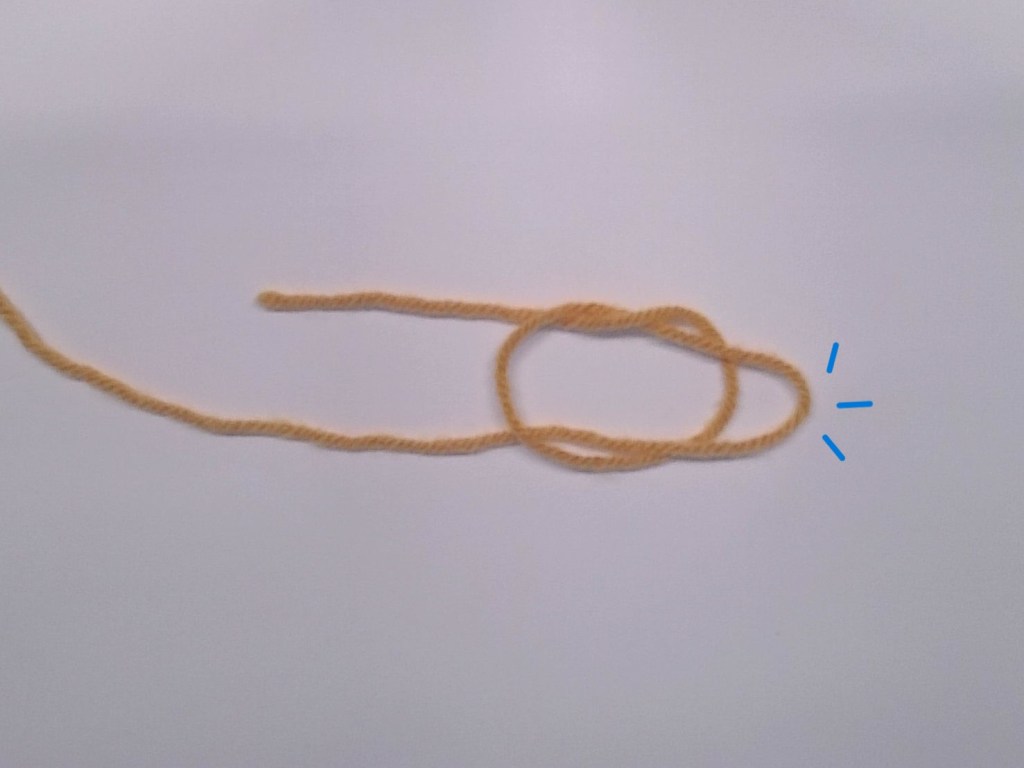
| 5. Grab the working yarn in the spot from the previous step and pull it up and to the right | 6. You should now have this shape, with the loop from step 5 off to the right |
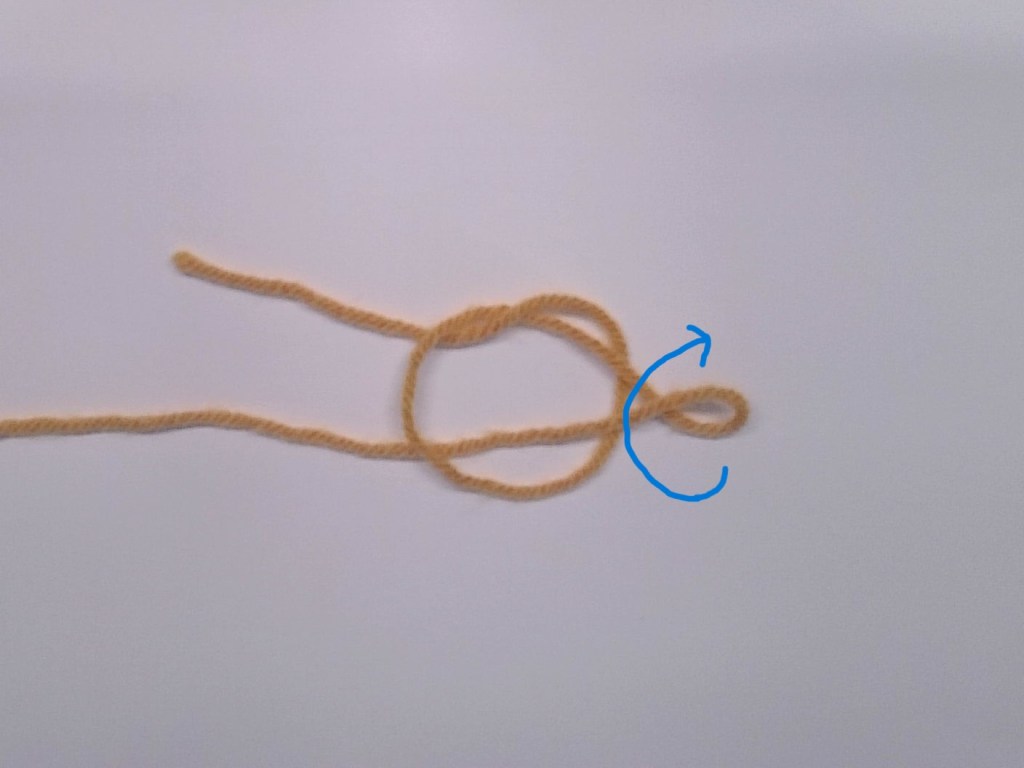

| 7. Grab the loop and twist it upwards so that there is a distinct loop. Insert your hook into this twisted loop | 8. Grab the working yarn and bring it up and underneath both of the two yarn strands so that it is above your hook |
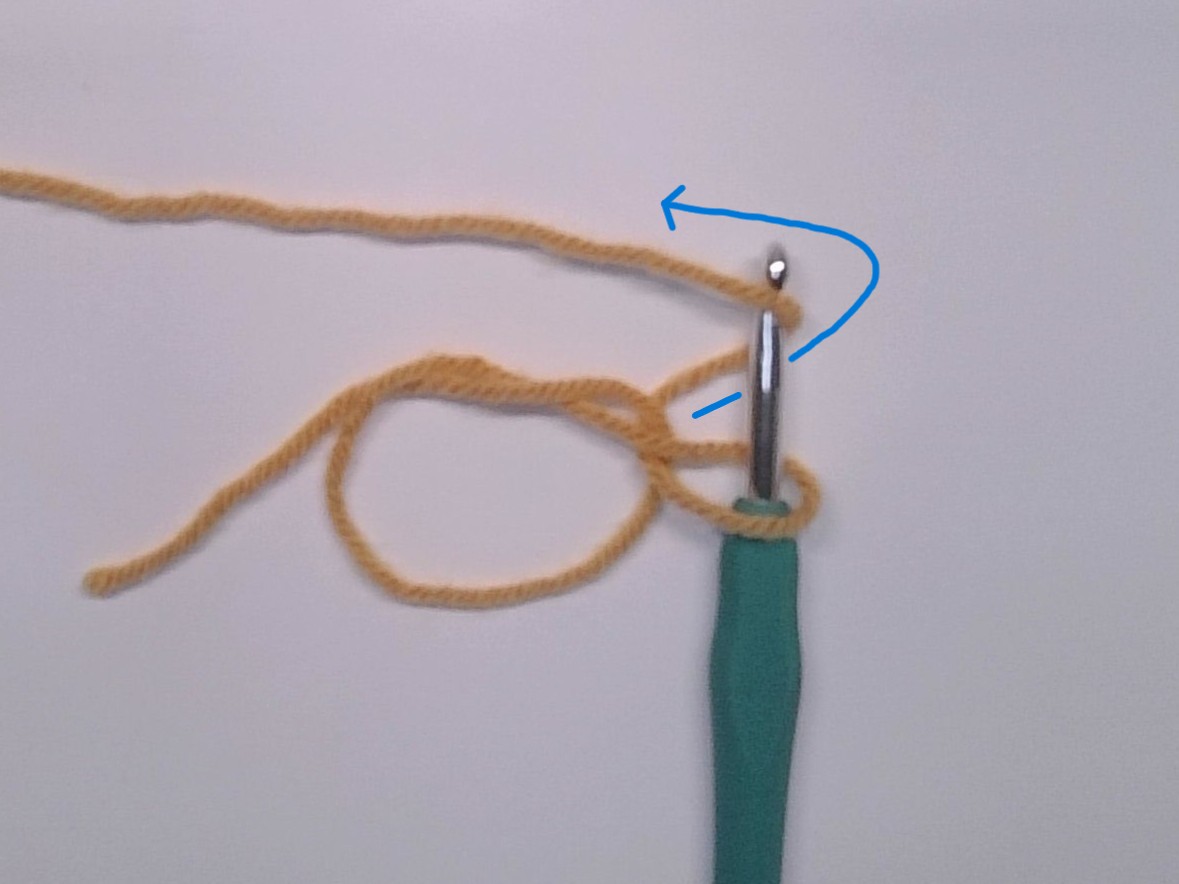
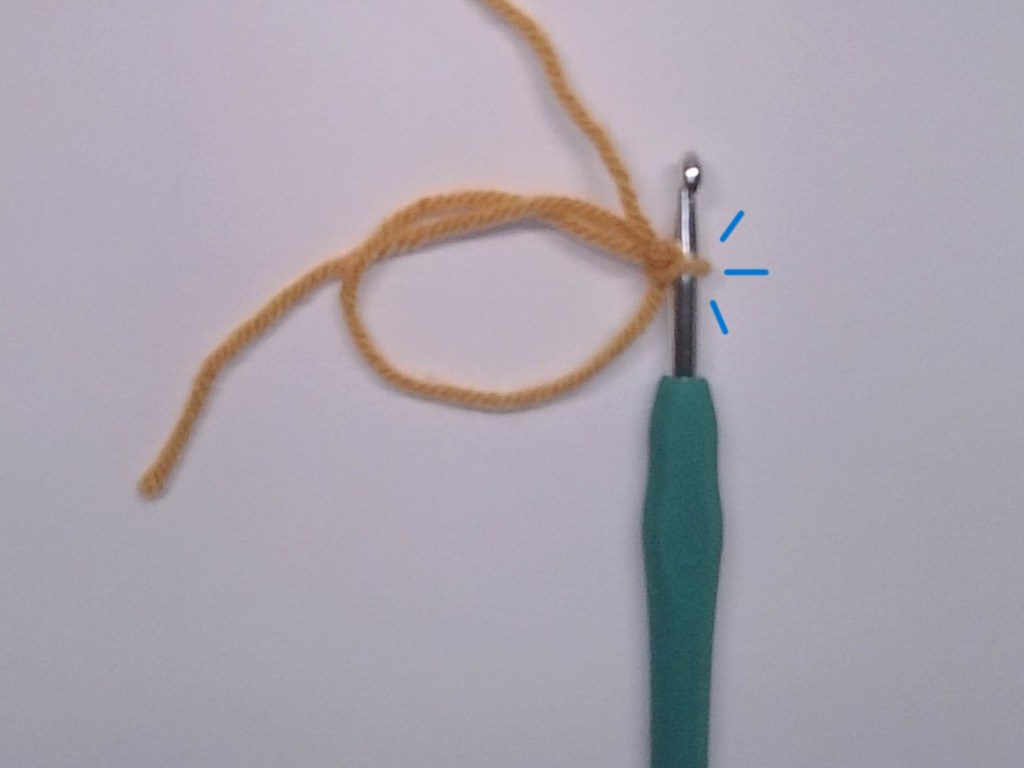
| 9. Bring the working yarn under and around the hook, then pull it thru the first loop on your hook to create 1 chain stitch | 10. You have now created a magic circle and are ready to start your project !! YIPPEE !! ✧。٩(ˊᗜˋ )و✧*。 |
The magic circle can be a bit tricky for beginners, and of course this is not the only way to make one! There are methods to create it using your fingers, or directly onto your hook. If this method doesn’t work for you, there are also plenty of tutorials on YouTube! Just find what works right for you.
Don’t give up, you got this !! (૭ 。•̀ ᵕ •́。 )૭

Leave a comment