The slip knot is the most common method to begin a crochet project (next to the magic circle), and can be easily undone if needed!
Here is how to make a slip knot with step-by-step instructions:

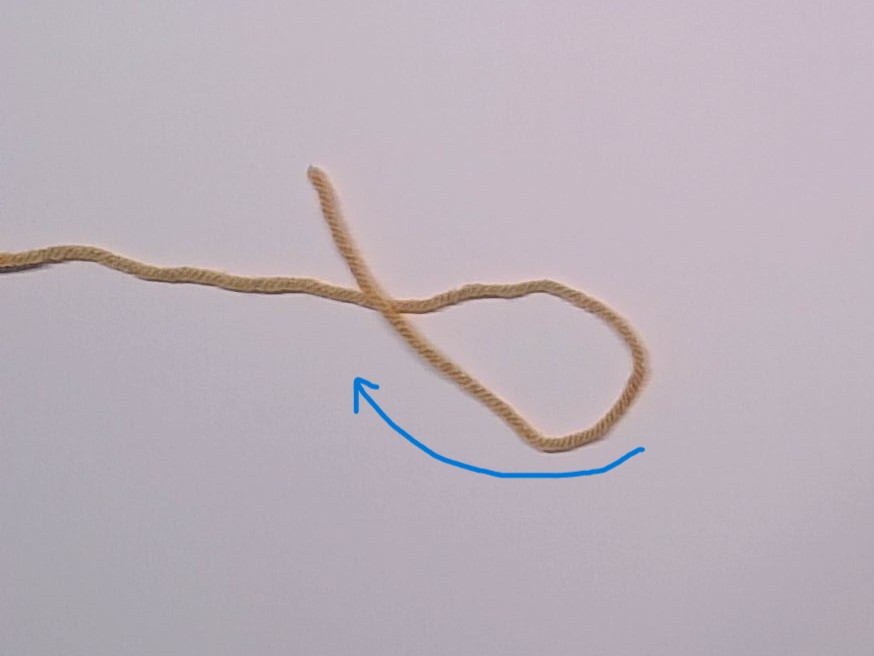
| 1. Lay the yarn flat with the tail end to the right and the working yarn off to the left | 2. Pick up the yarn tail and move it up and to the left and on top of the working yarn |

| 3. Grab the loop on the right and fold it over to the left on top of the working yarn and tail | 4. You should now have this shape with the working yarn running through the center |

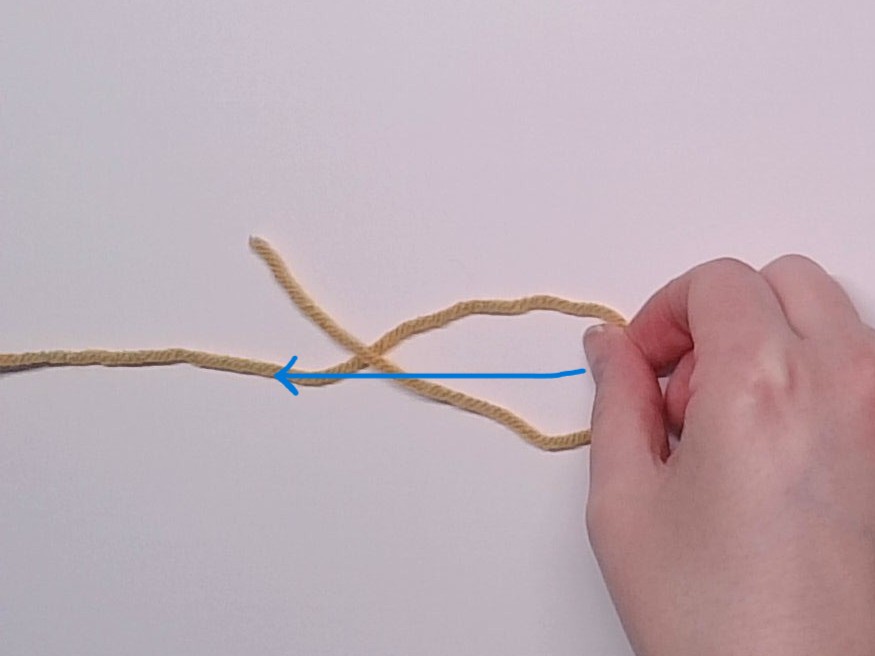
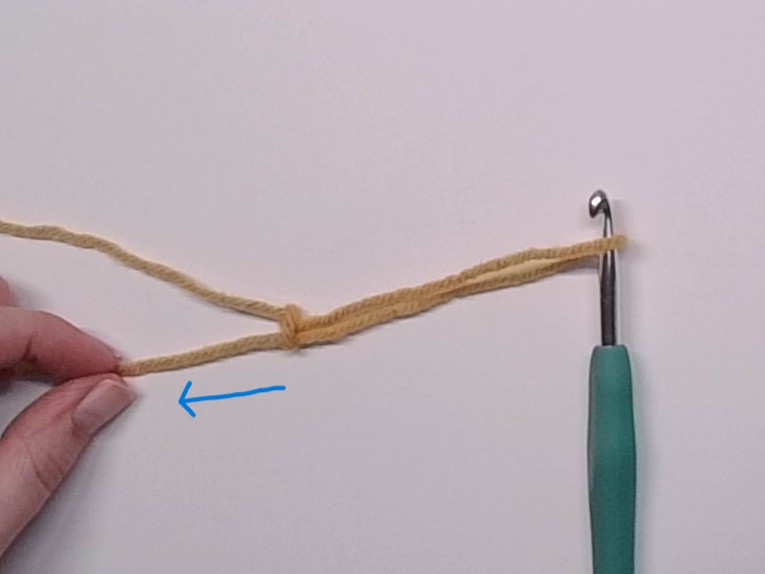
| 5. Grab the working yarn in the spot from the previous step and pull it up and to the right | 6. While holding the working yarn in place, pull the yarn tail with your other hand to tighten |
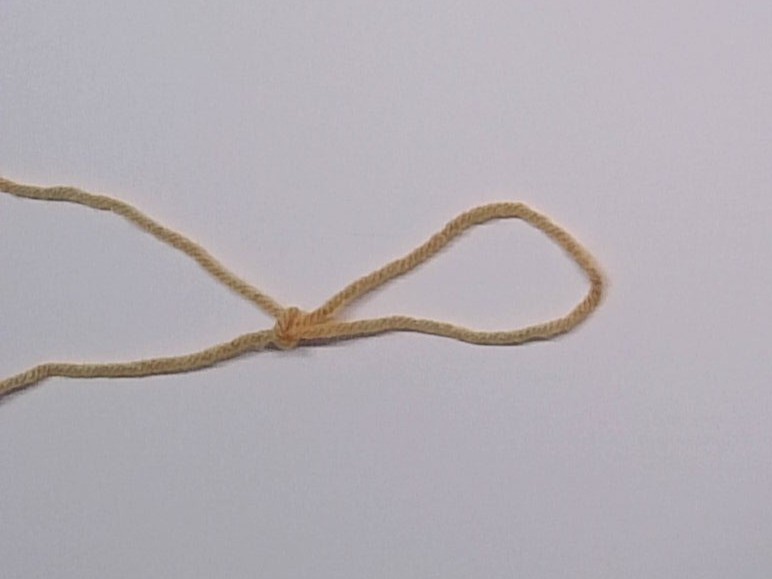
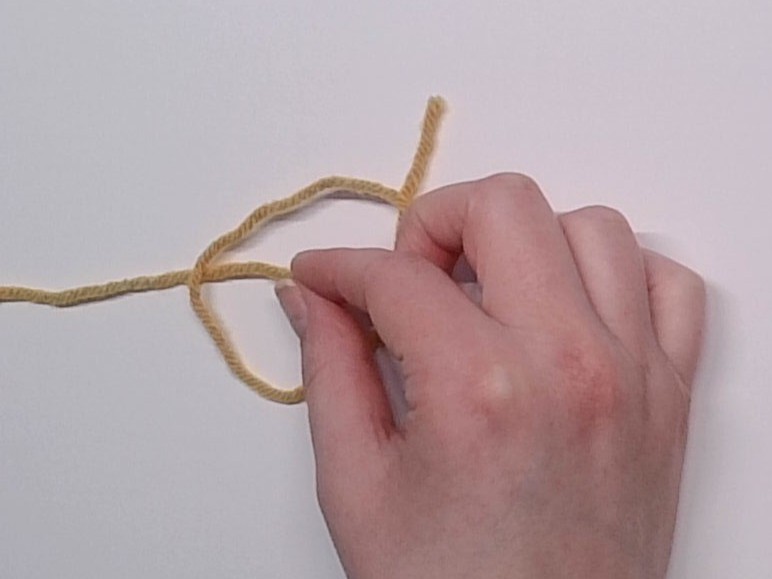
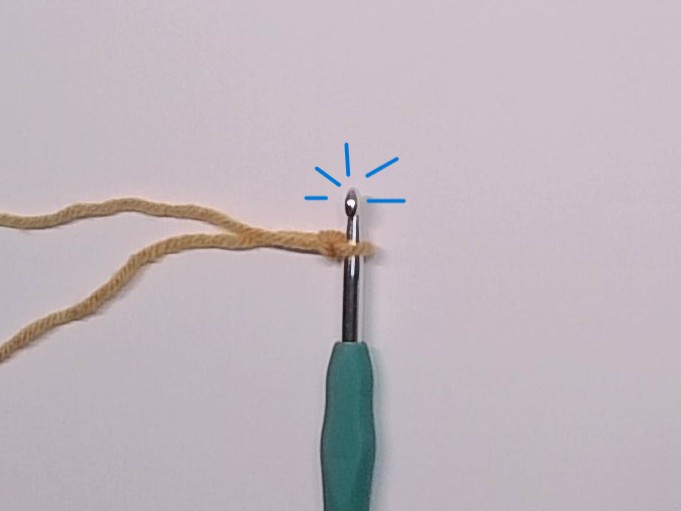
| 7. You should now have a large loop with a knot. Here, I have the tail above the working yarn | 8. Slip your hook into the loop, and pull the working yarn to tighten the slip knot around the hook |

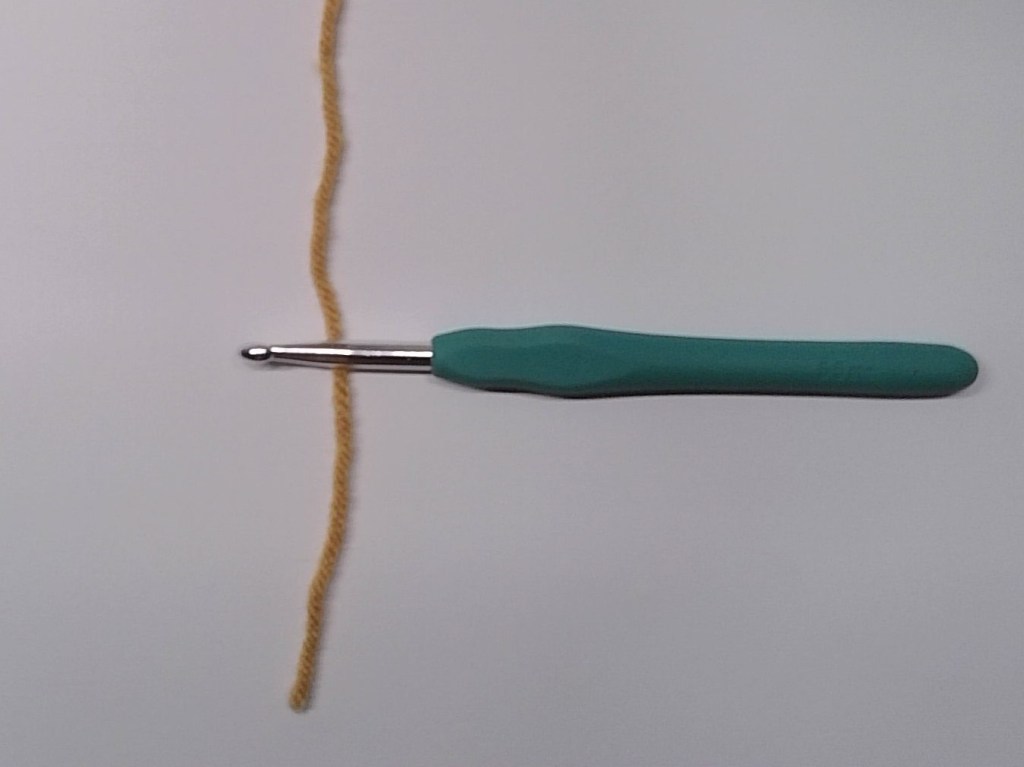
| 9. You have now created a slip knot and are ready to start your project!! YIPPEE !! ✧。٩(ˊᗜˋ )و✧*。 |
Still not getting it?
Here is another way I like to quickly do a slip knot directly onto the hook:
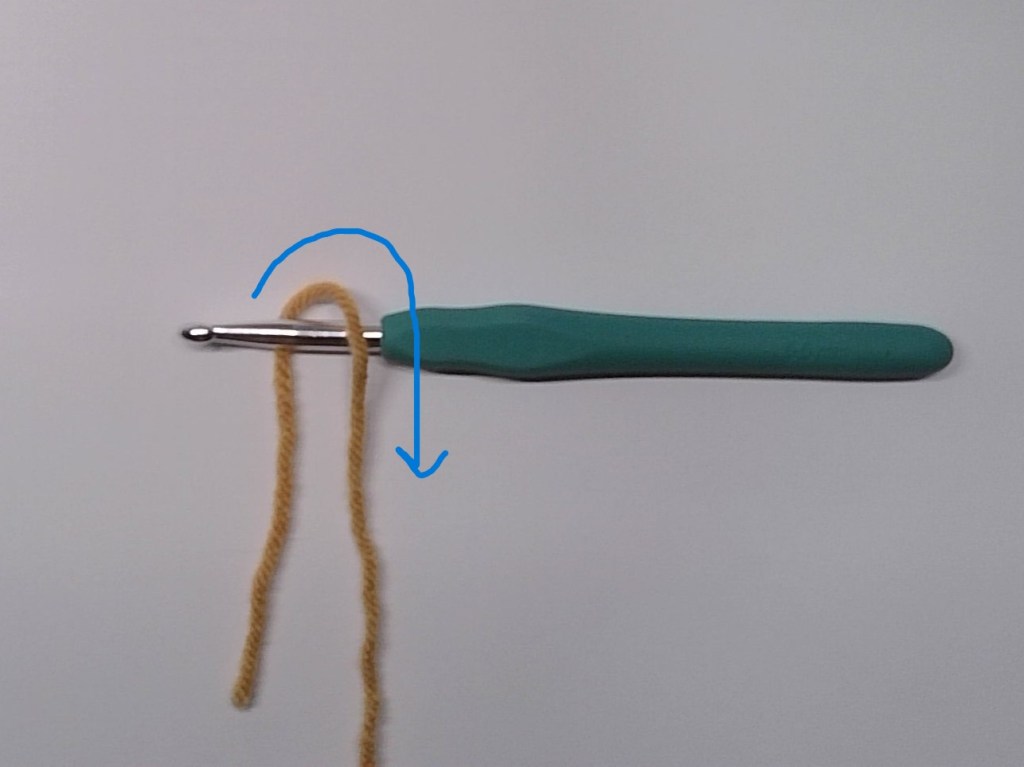
| 1. Start with your crochet hook on top of the yarn, with the tail below it and the working yarn above it | 2. Grab the working yarn and bring it over the hook and down next to the yarn tail |


| 3. Move the working yarn underneath the yarn tail then up behind your hook like this | 4. Move the working yarn down and over your crochet hook. Moving the yarn over the hook like this is called ‘yarning over’ |
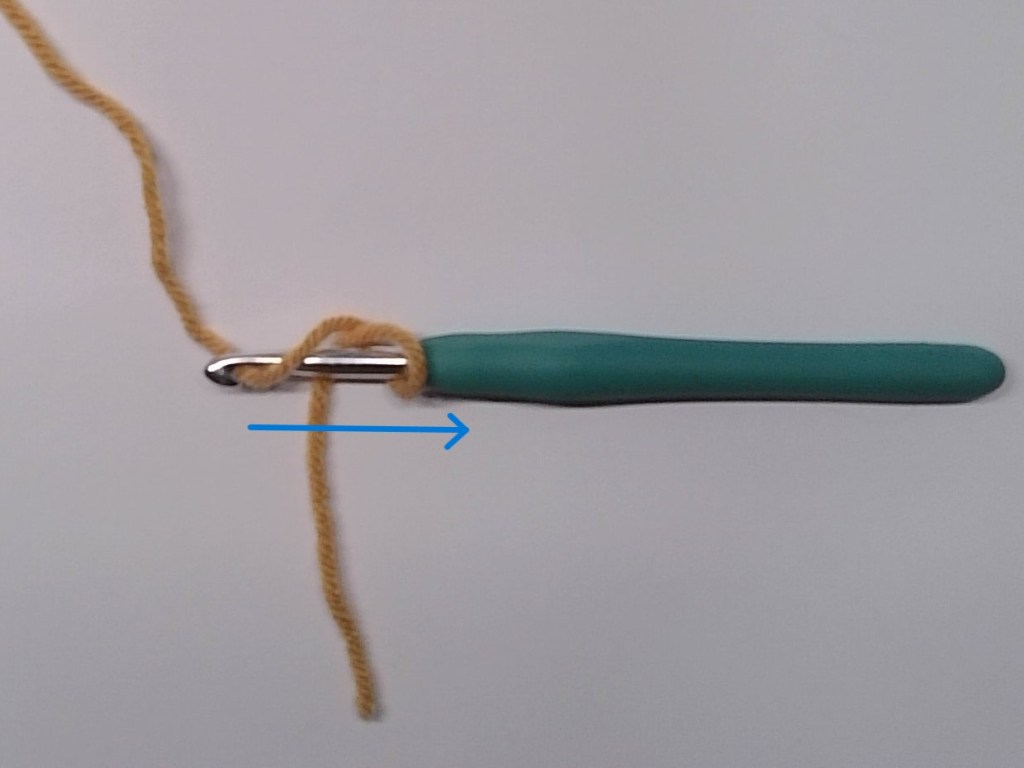

| 5. Holding the hook, pull the working yarn through the loop and pull the yarn tail to tighten the knot | 6. You have now created a slip knot and are ready to start your project!! YIPPEE !! ✧。٩(ˊᗜˋ )و✧*。 |

Leave a comment